This Grow Kit is designed to provide you with a scientific experience, delicious mushrooms, and enjoyment. It includes a box, instructions, a living mycelium block, and humid substrate protected by a bag. Under the right conditions, the first harvest is guaranteed.
Instructions
Before starting, open the box to make sure that the substrate is entirely colonized, meaning the white mycelium* has reached the bottom of the bag. Until the mycelium has entirely colonized the substrate, keep the bag and the box closed at room temperature. Once colonized, for later use, store the Grow Kit in the refrigerator for up to four weeks. *
1. Fruiting
To concentrate the fruiting in a single point, carefully cut a 5 cm slit in the plastic in the middle of the box’s window. Remove the block from its box. Remove excess air from the upper part of the bag by folding it over the block and taping closed.
2. Hydration
Spray your Grow Kit and mushrooms every day. Insufficient humidity can be noticed if the caps become yellow, dry out, or stop growing. If this happens, immerse it in cold water for 1 hour. Drain excess water through the hole.
3. Harvest
After 4-8 days, when caps are fully developed, harvest all mushrooms. If spores are being released, leaving a light white powder underneath the caps, harvest immediately.
4. Start Again
To initiate another harvest, place Grow Kit in the refrigerator. * After 5-10 days, immerse in cold water for 6 hours and remove excess water through the hole. Close the first opening with tape and make another slit on the other side of the bag or where baby mushrooms are forming. Repeat steps 2-3.
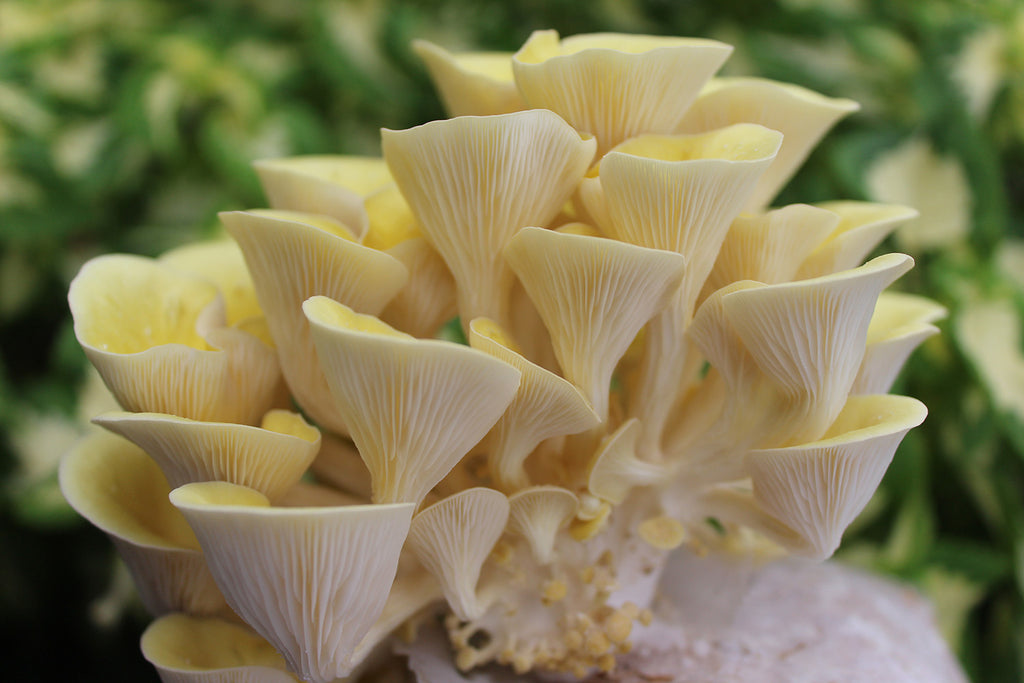
* Except for the pink and yellow oysters which are a tropical mushrooms and must always be kept at room temperature. The pink oyster mycelium is pink.
Tips for moisture
Place the Grow Kit and a humid towel in a container and cover loosely. The mushrooms need to breathe, or they will form long stems with small caps. The user has the option to keep the culture block in the box throughout the growth process or not.
Disposal
After several harvests, the substrate has been fully used. The block of mycelium can be composted, and the plastic bag and box recycled. Visit our website to find out how to reuse the kit to grow more mushrooms on new substrate or in the garden.
For detailled instructions download this PDF